1. Click on Settings on the left-side navigation on Car and Van Rental Software. Next, click on Agreements Tab.
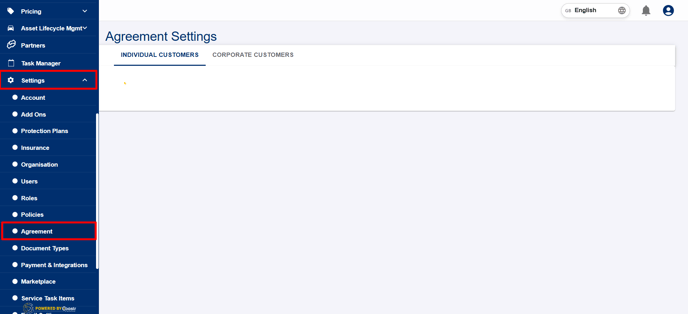
2. Choose the type of customer for which you want to create a custom Rental Agreement. You can select either Individual Customer (retail) or Corporate Customer (business).
Click on the organisation dropdown to choose the Organisation.

3. Next, click on the branch dropdown to choose the Branch to see the below page.
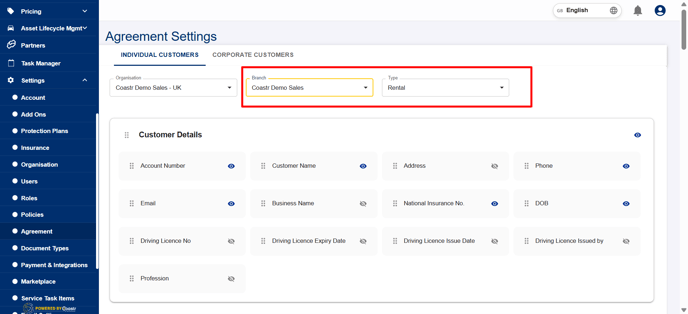
4. Here, on each row you can choose what you would like to be included in that each section by selecting the fields you want to be visible. And then, select the checkboxes next to each field that you want to appear in the Rental Agreement.
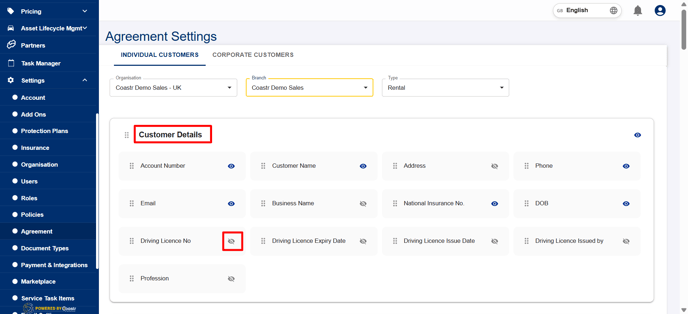
5. You can hide the entire section if you want by clicking on the 'eye' icon on each section.
![]()
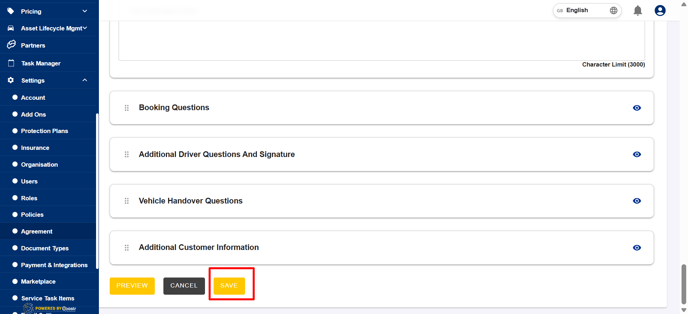
6. Once you have added the required fields for all sections, you can then add your own text for Insurance Declaration, Cancellation Policy and Terms and Conditions that you want to display on the Rental Agreement. This can be done simply by clicking on the text field and entering your text.

7. Next, if you want your Booking Questions, Vehicle Handover Questions and Additional Information to display on the Rental Agreement then you can do this by clicking on the 'eye' icon
If you do not wish to have these appear on the Rental Agreement, then click the 'eye' button to turn these off.

8. Once you are done, click on the Save button to save all your changes.
9. That’s it, you have now successfully created your customised Rental Agreement for this branch. You can repeat this process for any other branches you may have for individual or corporate customers.
You can also view a preview of how your rental agreement will appear using 'PREVIEW'.
If you've any questions or issues, please email support@coastr.com. We're happy to help!
If you found this article useful then please vote below, it helps us massively. Thank you!