1. Click on Bookings from the left-side navigation and click on the booking you would like to view the Sundry Invoice on the Car and Van Hire Software.

2. On the booking management page, scroll down to the Payment Information section to view all invoices related to this booking.

3. Click onto the Invoice number in the Payment Information section to open the particular invoice.

4. If there is only a regular invoice and you would like to create a new sundry invoice, then you can click on the Create Sundry Invoice button to create a new sundry invoice.
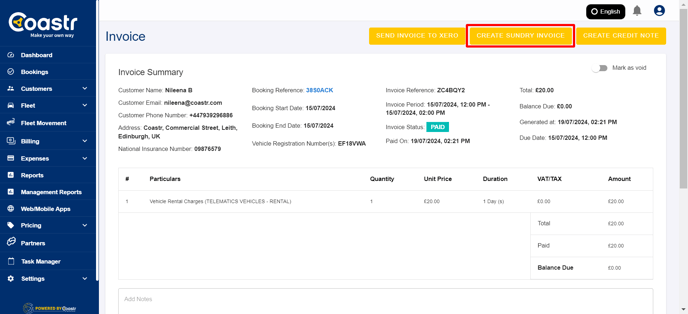
5. On the Sundry Invoice page, scroll down and click on the Add Document button to upload a document.

6. Click on the Select Document Type drop down and choose the type of document from the dropdown options.
7. Next, click on the Expiry Date field and choose the date if applicable. This is optional.
8. Next, click on the Browse button and choose a file to upload by selecting the file from your system and clicking on the Open button.
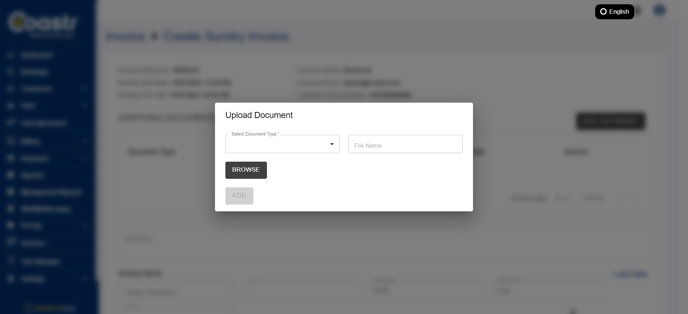
9. Click on the Add button to upload your selected file.

10. That’s it. You have now successfully uploaded and attached a document in the Sundry Invoice and it is visible in the Additional Documents table below. You can also download this document or delete it by clicking on the respective icons in the Action column.

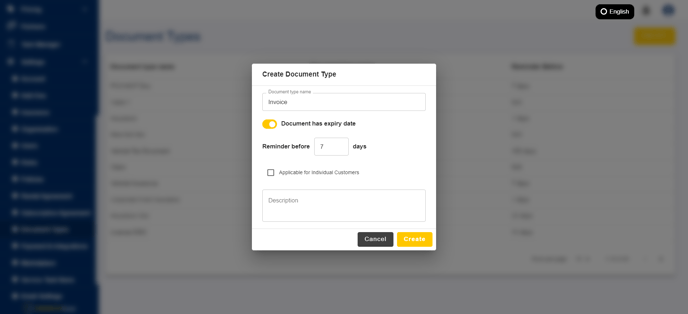
11. If the document type you want to upload is not present, to add new document type, click on document types under settings

12. Click on create and add the new document details, if you want to add expiry date for the document, select expiry date, and click on 'CREATE'. The new document now added.